RBG Drawing

RBG Drawing

I know you might be wondering why I am posting a blog post about a drawing of RUth Bader Ginsburg and not something quilting related. It’s also been a long time since I posted anything. I think Ruth is an incredible person, a strong woman and a fearless leader. She inspires me to to strive to make a difference in my life.

My original drawing, simply started as a sketch. I was not even sure I could draw her portrait, it had been a long time and in the past I used to the grid method to free hand to be sure the proportions were exact. This time I completely free handed the drawing by simply looking at the photo on my tiny phone screen. I was so excited I kept going to see how the shading would enhance the piece. At some point I realized there was no turning back and this would be a pencil drawing (mechanical pencil). I loved the finished drawing but I had mixed feeling because I knew that I could not do anything else with it such as color.

I decided to photograph it and make copies to use as reference for other projects. I had so many ideas, hand needle turn appliqué, thread painting, raw edge appliqué. I am still not exactly sure how to make those come to fruition. I did however have the idea to use the copy to draw a second drawing in my sketchbook to play around with. Then RBG #2 was born. After months or maybe year I decided to take the leap and start adding color.

I wanted the color to be colored pencil which is my favorite medium. I also wanted to play around with a mostly monochromatic palette except a few splashes of other colors. I love the way it is coming along. I need to add white highlights in and finish the robe, necklace and background.

This is giving me ideas of making a sketchy thread punted version at some point 😉. I’m also thinking more color iterations would be spectacular to eventually have a set of four to give an Andy Warhol vibe! Check back for updates!

XX Casey

Advertisement

Journal 20

Wild Side Graffiti Pillow

Once I knew I was going to make a pillow using Libs Elliott new collection Wild Side for Fall 2017 Quilt Market, I had to decide what to make. Obviously thread painting using the coordinating Aurifil Wild Side thread box had to be included. I didn’t want the thread painting to be a center focal point in the pillow, I wanted the fabric and thread to be equally represented.

IMG_6356

I pondered the line for a few days and wanted to somehow include graffiti quilting. So why not literally create graffiti. This idea also felt like it represented my impression of the collection and Libs Elliott.

I chose to also incorporate geometric shapes using improv half square triangles. So I decided to piece the background with the neutrals prints and throw in a few triangles!

IMG_6358

The main focal print in the line is the skulls in three color ways. I loved the way the skull print is just simply an outline made of geometric shapes.

IMG_6361

I had to figure out how I was going to literally create graffiti. And I definitely have never spray painted graffiti before. So bring out google, and I googled graffiti. Not surprising images brought up graffiti alphabets in different styles. So I picked a few styles and practiced drawing out my phrase. I chose the phrase “release your Wild Side” because it played on the name of the fabric collection and brought the fabrics full circle. I drew a different style of graffiti lettering for each word.

I wanted the thread painted skull to be similar to the fabric by using the geometric outline and letting the background shine through. I added bits of fabric to the geometric shapes created in the skull.

IMG_6362IMG_6368

Then I thought how cool it would be for the phrase, “Release your wild side” to be coming from the skull, almost like he was saying it.

I wanted it to feel eclectic and use most of the fabrics from the line. I traced my graffiti letters onto wonder under and ironed them onto the fabrics. I placed the phrase on the pillow and thread painted around the edge of the letters to hold them down and add texture.

IMG_6376fullsizeoutput_b32IMG_6395IMG_6432

I thread painted a few other designs from the fabric including the lips, moon, and eye.

IMG_6426IMG_6430
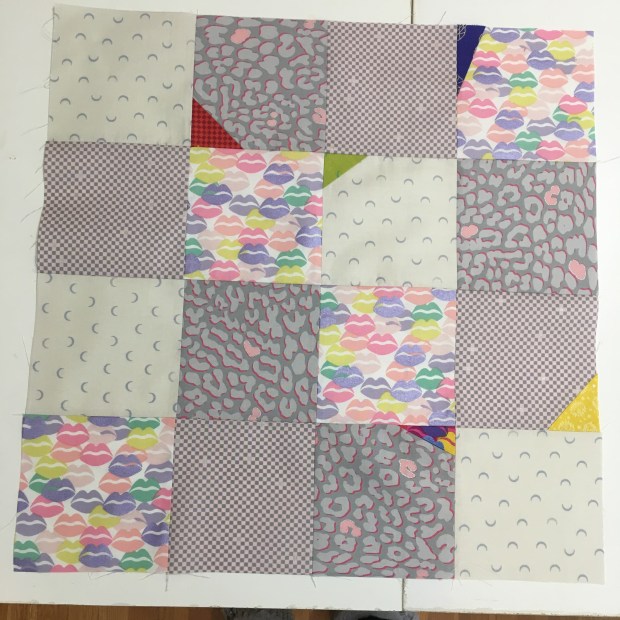
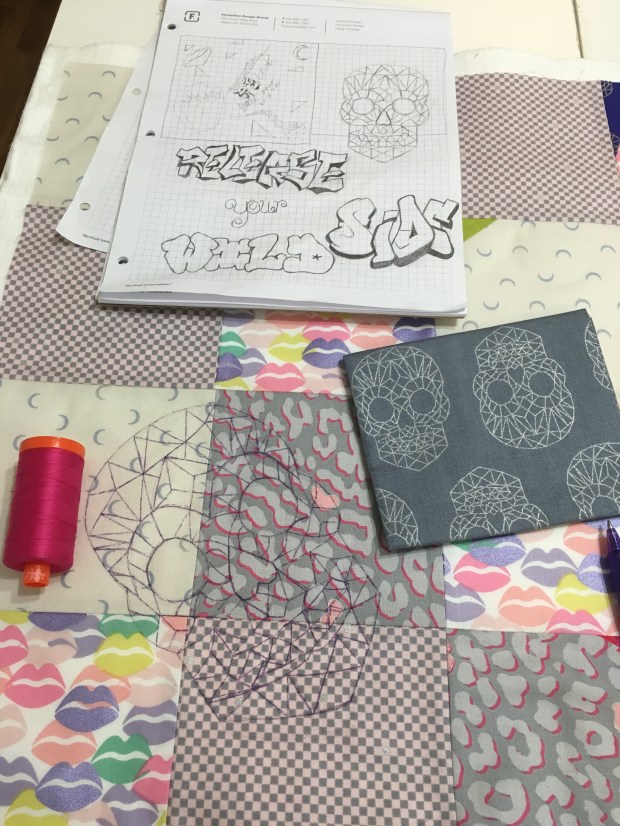
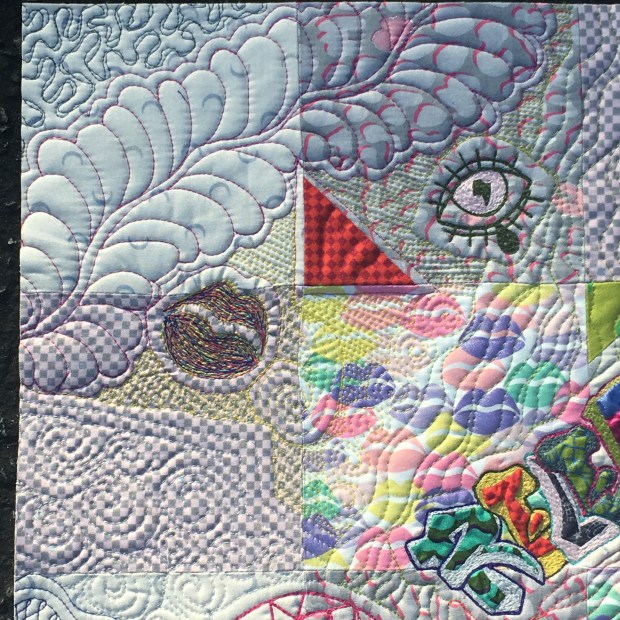
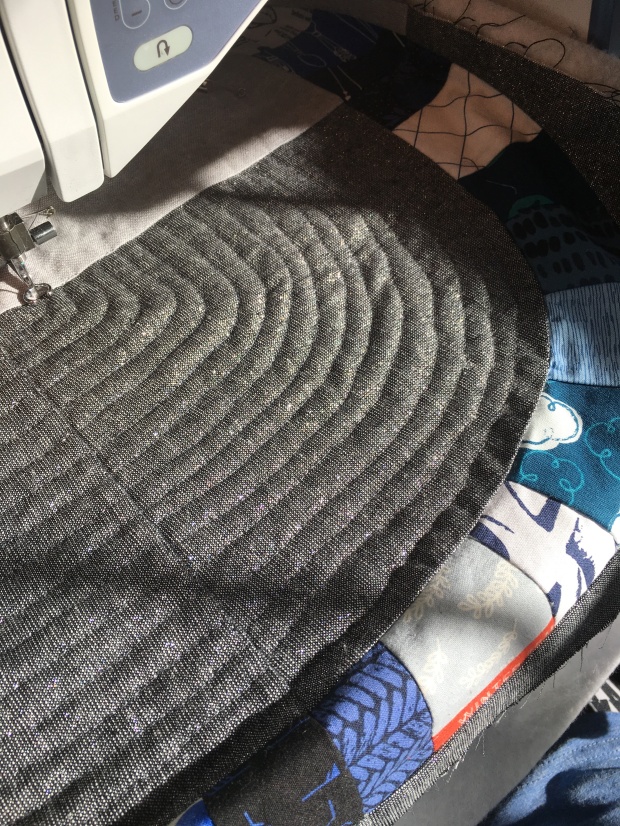
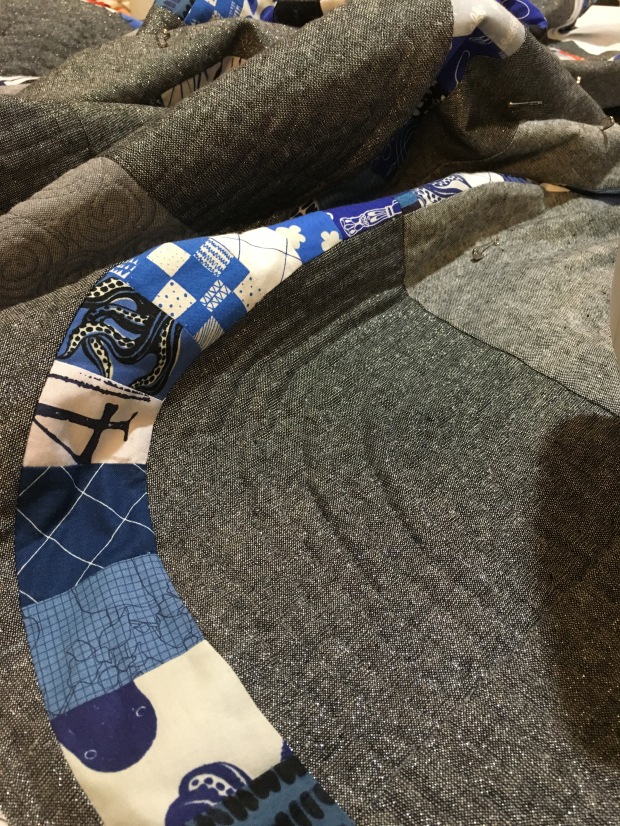
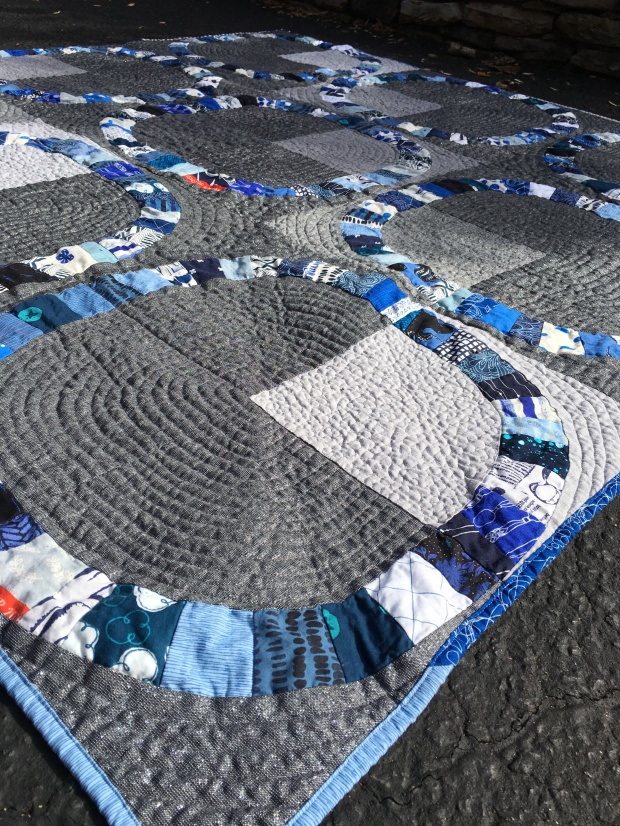
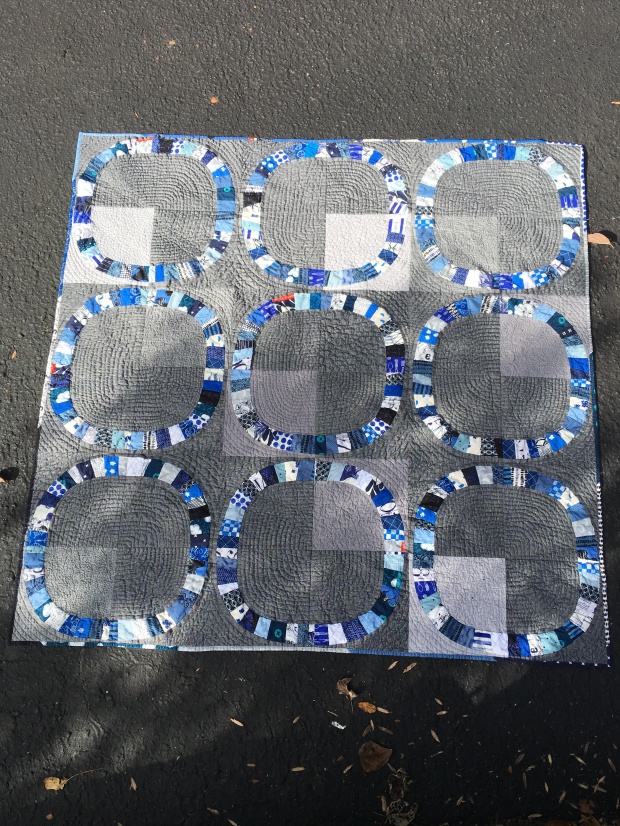
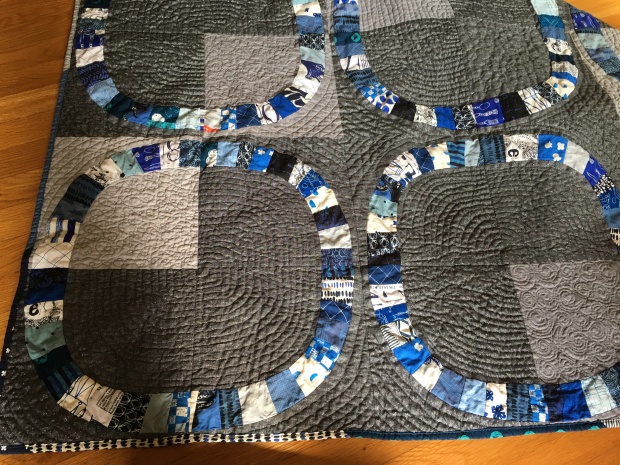
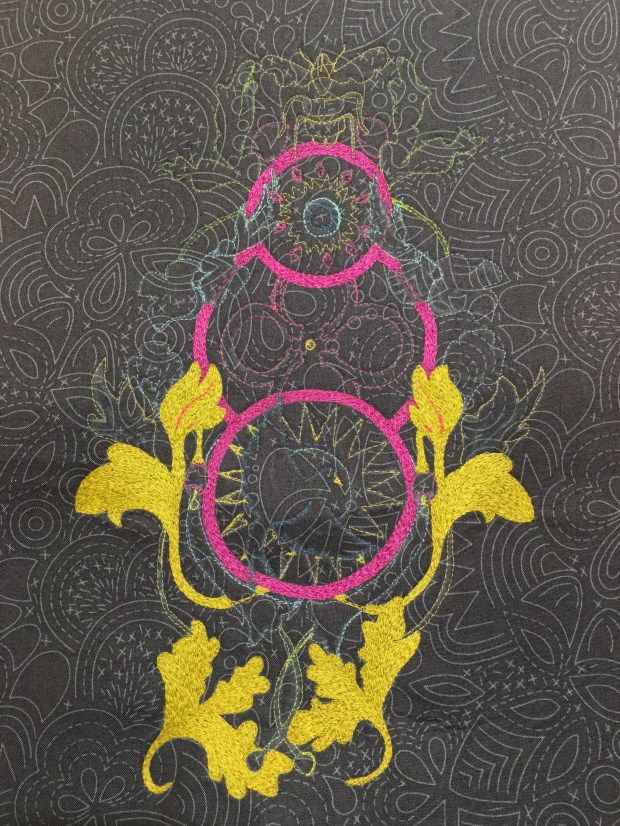
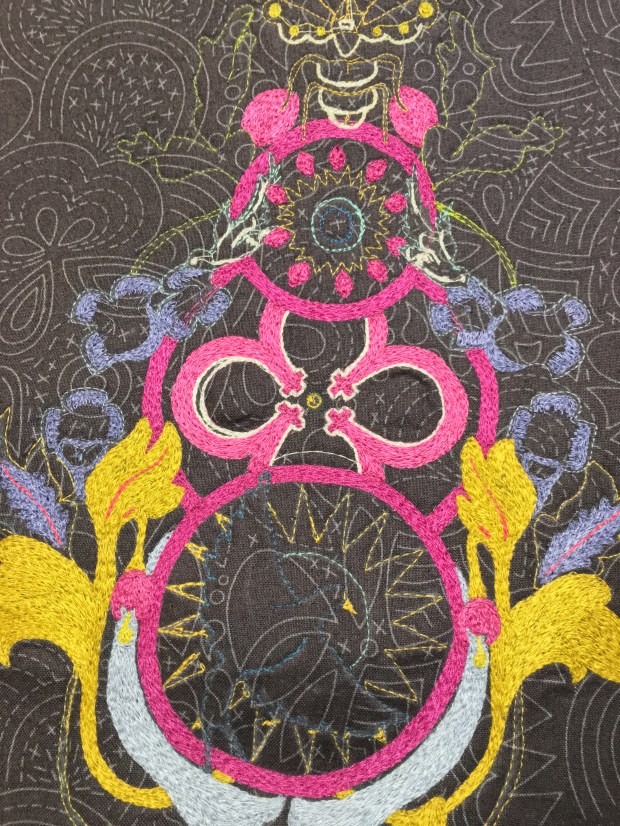
I graffiti quilted the background of course!

IMG_6429IMG_6428IMG_6427IMG_6420IMG_6424

For the back, I pieced together 5” charm squares and did matchstick quilting.

IMG_6445IMG_6446

A zipper and leather label was added and the 20’ pillow was complete!

IMG_6449IMG_6898IMG_6896

Thank you Andover fabrics for the opportunity to be inspired and create!

Happy Quilting!!

Xx Casey

Journal 19

Blue Freewheeling Single Girl Quilt

In Spring 2016 I attended Sewtopia in Atlanta. One of the classes was with Denyse Schmidt to make the Freewheeling Single Girl Quilt.

For the rings, I used a variety of blue prints from Carolyn Friedlander to Alison Glass and Cotton and Steel. For the background, I used different grays, blacks, charcoals and metallic Essex Linen fabrics. The piecing was done using Aurifil 50 wt thread.

IMG_4357IMG_4632IMG_5058

For the quilting, I echoed the shape of the rings in the background, while leaving the rings unquilted. When I was tired of quilting echoed lines, I decided to throw in a few other free motion designs. I think the various quilting designs add texture to the quilt. The quilting was done with charcoal grey Aurifil 50 wt thread.

IMG_3753 2IMG_6320 2IMG_5855 2IMG_0377IMG_6287IMG_7542IMG_9788 2IMG_3488 2

I used the blue octopus Cotton and Steel fabric for the backing. The quilt was bound in scraps left over from the blue fabrics.

IMG_7148IMG_8081 2

Finished Quilt: Throw Size

Happy Quilting!!

XX Casey

Journal 18

76 Thread Painted Mini Quilt

So I have been busy lately and have not blogged in awhile. I wanted to share the full photos and process behind the 76 collection by Alison Glass.

Back in the fall of 2016, I was asked to create a thread painting for Fall Quilt Market for Andover fabrics. I knew I wanted to thread paint the focal motif from the line and the dark pink/grey colorway was my favorite!

IMG_4967

I used the tone on tone dark gray print to serve as my background for the thread painting. I stabilized the fabric using double sided fusible Peltex and SF 101.
Next, I free handed the design onto the fabric using a white chalk pencil and then outline the lines using coordinating Aurifil 50 wt thread. I started thread painting each section with the coordinating threading using the 76 collection Aurifil Thread Box.

IMG_4968IMG_4969

IMG_4976IMG_4987IMG_4993IMG_5004IMG_5010


For the piecing of the mini quilt I decided to shrink down the Luminary Quilt pattern by Jamie Swanson and Alison Glass. I wanted it to appear as if it radiated around the thread painting. I used various grays, pinks, purples, greens, and blues from 76 and other handcrafted lines.

IMG_5017

I built it out starting with the grays to the pinks and purples and then finally to the greens and blues. Due the size of the thread painting, I had to add more pieced luminary diamonds and a pieced border to match.

For the background I used a tone on tone white fabric from the 76 fabric collection.

IMG_5019IMG_5020IMG_5021IMG_5022


Next I had to figure out what shape/size I needed to cut from the priced starburst to fit nicely around the thread painting. I attached the piecing to the thread paitning by ironing under a 1/4 inch and stitching it down with a blanket stitch.

IMG_5037IMG_5044

For the quilting, I did not want to take away from the threading painting or piecing. So I micro stippled around the thread painting and quilted straight lines radiating from the center using different color coordinating Aurifil threads. I bound the quilt in the white tone on tone fabric.

IMG_5048IMG_5049IMG_5044IMG_5047IMG_5046IMG_5043IMG_5039

The next photos were taken by Giuseppe (@giucy_giuce) with Andover Fabrics!

Casey AG Mini 1Casey AG Mini 2Casey AG Mini 4Casey AG Mini 5

Finished Size: 26 inch x 29 inch
Happy Quilting!!

XX Casey

Journal 17

Sunflower Thread Painting Christmas Gift

this year I started a new job in Forensics at my local police department and met a great group of friends. One of my coworker’s Ashley saw my thread paintings on social media and said she would love to have a sunflower. She also had a brilliant idea to try framing the thread painting instead of making a mini quilt. So I decided to surprise her for Christmas and do both, make a sunflower thread painting for her and frame it in a rustic frame (to match her home decor). She mentioned that she liked blues so I found the most perfect blue background fabric that makes it appear to be raining on the sunflower. I chose a Rashida Coleman-Hale print in her fabric collection Raindrop called Precipitation in teal (metallic) for Cotton and Steel.


1309

I decided to make the thread painting look somewhat realistic. I started by drawing out the design on paper to see what i thought, and then i drew a similar design on my fabric with a Frixon pen. I backed the fabric with Peltex on 72F Double-sided Fusible and SF 101.

img_5107

img_5108

I started in the center and tried to create the bumpy, bead-like texture of the sunflower center. I used Aurifil 50 wt threads in greens, tans, browns, and gold. For the petals I used three different golds/yellow Aurifil threads.

img_5160

img_5162

I added a stem and a few leaves to give the flower a life-like appearance. I used a few shades of green and tan Aurifil threads.

img_5169

For the overall quilting I freemotion quilted (using Aurifil 50wt threads) a stipple pattern in the same direction as the rain in the background.

img_5164

I bought a frame that matched the escthetic perfectly by pairing the golds/ tans/ greens with the rustic qualities!

fullsizeoutput_5cd

I absolutely love the way the thread painting turned out, frame and all!

img_5186

Happy quilting!!

XX Casey

Journal 16

“Magic” Thread Painted Pillow

I was so inspired when I met Sarah Jane at Spring Quilt Market and saw her new whimsical line “Magic”! The collection truly embodies children’s fantasy and imagination with a parade, unicorns, castles, dragons, mermaid and narwhals. 


I love how Sarah Jane always tries to incorporate sweet border prints in her collections, so that is where I drew inspiration!


Now which character to choose…I decided on the little wizard because what is a better representation of “Magic” than a cute wizard!

I knew I wanted to put my thread painting in the center of a Feathered Star block by Jessie Ziegler (Threaded Quilter). I made the 16″ star which means my thread painting would be in a tiny 4″ square…whew! I wanted to include both blue and pink fabrics from Magic. So for my thread painting I used the color scheme of the wizard for the white/blue color way and put it on a soft pink background.

I started by drawing the design on the fabric with a pencil. I then began thread painting outline with black Aurifil. Next I threaded painted her face, hair, and stars using peach, pink, and yellow Aurifil. 


Then I thread painted the light blue around the stars in the cape and hat. 


I felt like the thread painted still needed something, so I added birds for her to cast a spell on.


I went back and forth on which fabric should go up against the thread painting and star points (which would be mermaids on blue). I tried lucky stars on white, lucky stars on navy, magic folk on white, magic folk on navy and baby dragon on grey. I felt like the whites blended into the mermaids too much, so that was out. The grey fabric just wasn’t the right fit. 


I like the navy stars because I pulled out the stars in the cape but I went with magic folk in navy because it pulled all the blues and pinks together!


I fussy cut the mermaids for the star points (trying not to repeat the mermaids). 


For the feathers on the stars I used baby dragons in pink/ baby dragons in blue and fussy cut the dragons and gold specks. For the diamond points on the star tips I used unicorn forest in pink and fussy cut the unicorns. 


Since the star was made up of mostly light colored fabrics I chose to use castle plans in navy for the background. I love how the star jumps off the dark background!


For the back of the pillow I used magical parade in white and lucky stars in white, so they star appeared like they were in the sky above the parade.

For the quilting I wanted to keep it simple but create texture so I used 2 layers of Quilters Dream Wool batting and 1 layer or cotton batting on the front. I stipples around the thread painting and echoed the shape of the star points/mermaids. 


For the rest of the star I stitched in the ditch and left them unquilted so they stay poofy!! For the background I echoed/carried out the shape created from the feathered star. 


Look at the cool quilting from the back!


For the quilting on the back I used a walking foot and created a grid.


The final touch was a bright pink zipper and an Ikea feather pillow form (super soft). Here are a few final photos.


Happy Quilting!
XX Casey

Journal 15

“What Shade Are You?” Flying Geese Quilt

I could not believe it when RJR Fabrics emailed me about participating in their Cotton Supreme Solids block hop. No one had ever asked me to participate in their blog hop, so I was very excited!

When I received the color card in the mail I was blown away by just how many color choices they had to offer. I don’t normally work with strictly solids so I had no idea what to make or what colors to choose. I decided to pull a color palette with greens, blues, red, pink and mustard as my color inspiration! I chose 15 colors (including 5 background colors):
Tickled Pink
Caviar
Anemone
Carolina
Proud as a Peacock
Kelly Green
Sprout
Peridot
Golden Topaz
Bandana
Greyhound
Burlap
Linen White
Kona Coffee
Sand Dune

Wow when the fabrics arrived I could not get over the vibrant hues and how soft and how much body they had.

img_4780

I knew whatever I decided to make, I couldn’t just use solids, I had to toss in a few Cotton and Steel Black & white prints (obviously). Here are the prints I used:
Bear hug metallic
Flock metallic
Hoos there
2.5″ Gingham Black
Petite Plus
Sprinkle Black Cat
I wanted to create a unique pattern with improv and modern piecing. While I was way outside my comfort zone, why not draft a large paper piecing quilt pattern… So, I created my own flying geese pattern that graduated in size from 12″ wide to 1/2″ wide geese. For the centers of the flying geese I pieced together slivers of solids and B&W fabrics creating fabric to cut from.

img_4787

img_4789

For the background I used a graduation of neutrals from light to dark.

img_4807

img_4815

To give the quilt a modern feel I left a bunch of negative space in the background.

img_4821

For the backing I pieced together leftover colored solids, Cotton and Steel B&Ws, and background fabrics.

img_4894

Since there was a ton of negative space, why not play around with graffiti quilting to enhance the body of the fabrics and the texture of the quilting? To continue with the modern/improv feel I quilted using Aurifil 50wt thread in a variety of colors that coordinated with the Cotton Supreme Solids.

img_4863

img_4862

img_4861

img_4860

img_4859

I bound the quilt in leftover solid scraps and B&W fabrics.

img_4871

img_4891

img_4900

Finished Quilt Size: 52 x 60

Happy Quilting!

XX Casey

Journal 14

Thread Painted Poppy Pillow
When I first saw the gorgeous Handcrafted Patchwork fabrics by Alison Glass I was blown away. I love how these patterns lend themselves more to quilting since the designs are closer together.

 Of course I wanted to use the fabrics as the base for a thread painting but what? Then I thought of my poppy design that I drew a few years ago.


 Since poppies are found in grassy fields, I pulled the fabrics with mostly greens for the background. I chose to piece a herringbone pattern that would be something different and allow for various fabrics to be showcased (pieced with Aurifil 50 wt).


I wanted to make sure my poppies stood out from the busy background so I decided to thread paint them bright red and magenta/purple with Aurifil 50 wt. I recolored my design to give the petals more of an ombré effect (a technique I mastered in the Tula Pink owl). I thread painted the black outlines first and then came back and applied the colors. 


Once the poppies were complete Mom told me they looked strange floating in mid air so after polling Instagram, I added grass!


 I actually like how the grass turned out. I like how it appears more as a shadow effect with a few different shades of green.


 I didn’t want to make another mini quilt so I ventured out and this was my first attempt at a thread painted pillow. So I decided not to use the Peltex Double Sided Fusible that I typically use to stabilize the thread painting for fear it would make the pillow too stiff, instead I used a couple layers of fusible batting and SF101. Using the batting however made the thread painting pucker slightly so I knew whatever quilting I chose in the background needed to be heavy enough to quilt out the puckers. I wanted to accentuate the handcrafted fabrics not take away from them so I tried quilting with Aurifil Monofilament thread in smoke (on top and regular Aurifil 50 wt in bobbin). I quilted each herringbone section differently and quilted around the fabric designs to make them pop! I absolutely love the way the front of the pillow came out and I actually think I like the quilting better than the thread painting!! Lol


For the back I used Olive Essex Linen with a pieced strip using leftover handcrafted scraps from the front. I wanted to play around with free motion quilt designs so I graffiti quilted the back testing out patterns. I practiced my feathers/ feather variations, pebbles, checkered, and swirls etc. 


I enjoyed the graffiti quilting and definitely want to do more in the future! I quilting the back with Aurifil Monofilament thread in smoke. The thread blends in perfectly with olive Essex, but I had known the quilting would have turned out so well I would have chosen a thread that stood out. (Oh well, there is always next time)


The pillow came out beautifully! I am very pleased with the result and I will be making more thread painted pillows soon!


Happy Quilting!
Xx Casey

Journal 13

2 for 1 double gauze quilt!

Last November I met the talented and inspiring Katy Jones who is the editor of Quilt Now magazine. After realizing how much quilty-greatness is inside each issue of Quilt Now magazine, I knew that is exactly what I should get mom for Christmas. Enclosed in one of the first issues was not only one great quilt pattern but a 2 for 1! Even Better!

IMG_4735

I found this pattern very simple but perfect for busy fabrics with big, bold designs.

IMG_4736

I had a bug to try working with a new (to me) textile, double gauze! I started with a great bundle of Nano Iro from Trailer Stash Fabrics and added a few additional pieces to have enough fabric for the pattern. This quilt would be solely double gauze fabrics from Nano Iro, Heather Ross and Cotton and Steel.

IMG_4111

I had a feeling this fabric would be a bit tricky to work with and have a lot of play. To my surprise the piecing wasn’t too difficult with a little starch. The quilt top went together very quickly. Once it was all together I could now tell the blocks were a bit wonky due to the play in the fabric.

IMG_4131

IMG_4134

6 months later I am finally ready to quilt this soon-to-be cuddly quilt. I wasn’t sure how I should quilt it. I ended up choosing a very simple design that would not take away from the bold prints but also not too tight that might distort/destroy the delicate nature of the double gauze fabric. On the small triangles on each side of the flying geese pattern I straight line echoed inside the triangles. On the larger center triangles I continuously echoed the triangle design about 1/2 inch apart.

IMG_4704

IMG_4713

IMG_4717

The quilting was going quickly but it was getting a little boring so I decided to mix it up. On every column I changed it up by adding a different design to one center triangle block.

IMG_4712

FullSizeRender

FullSizeRender

After only 2 days of quilting it was finished! The blocks appear more wonky than I would like but i still love it.


IMG_4738

I bound the quilt in the leftovers from the back. After I threw it in the wash it was SO crinkly and cuddly! And what was even better was that the wonky blocks were not near as noticeable as before. I am so happy with how it came together (wonky blocks and all) and it is the softest quilt I have ever made!

IMG_4719

For the back I used a large piece of my favorite from Nano Iro and Cotton and Steel (and selvage)!

IMG_4737

IMG_4723

I hope this quilt inspires you to step outside your comfort zone and try something new.

Happy Quilting!

XX Casey

Journal 12

Halloween Fancy Fox Quilt!

So this time last year (2015) I had the idea to make a halloween-inspired quilt when my Cotton and Steel halloween bundle arrived. I knew I wanted to make the Fancy Fox pattern by Elizabeth Hartman, so why not combine these two ideas into one?

IMG_3591

I gathered my new fabric bundle, a few additional halloween fabrics by Sarah Watson and Tula Pink, and some of my Cotton and Steel basics. I decided to pull all of the low volume and text print fabrics we (Mom and I) had together to use as the background fabrics. For the muzzles I went with essex linens and for the eyes/noses I used solid black (unless the fabrics were predominantly black, then I used metallic fabric).

IMG_3573

IMG_3575

As I was creating each fox I loved each one more than the last. It took 42 foxes and some time but the top was complete.

IMG_3578

IMG_3693

Fast forward 8 months and I was headed to Atlanta, Ga for Sewtopia quilt retreat. One of the outings at Sewtopia was a tour of the Cotton and Steel studio, so I brought my fox quilt top along for the Cotton and Steel designers to sign. I also got Elizabeth Hartman to sign a block (pictured below)!

IMG_4693

Last week I finally got around to quilting it. I had the idea from the start to quilt it in a spider web free motion design, so in each quilt block i quilted a spider web. The quilting took a little time but I absolutely love the way it turned out.

IMG_4682

IMG_4689

IMG_4692

I bound the quilt in leftover dot/skull fabric (Cotton and Steel) from the backing.

IMG_4700

IMG_4697

IMG_4699

IMG_4701

Here is the back! I used the dot/skull fabric from Cotton and Steel in two color ways tan and mint. I joined them together and made sure to keep the GREAT selvage (of course)!

IMG_4702

I used one of my first leather white labels!

IMG_4722

Now it’s finished just in time to enjoy at this year’s halloween!

I hope this quilt inspires you to make a Halloween themed quilted as well!

Happy Quilting!

xx Casey